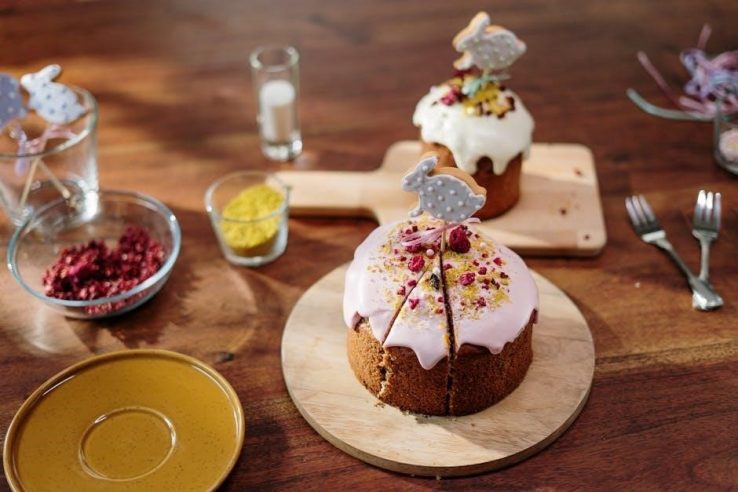
The Wilton Bunny Cake Pan is a durable, aluminum bakeware designed for creating adorable bunny-shaped cakes. Perfect for Easter celebrations, it holds one 2-layer cake mix (4-6 cups batter).
Easy to use, it comes with detailed instructions for baking and decorating, ensuring a festive and professional-looking result for both beginners and experienced bakers.

Overview of the Wilton Bunny Cake Pan
The Wilton Bunny Cake Pan is a high-quality, aluminum bakeware designed to create adorable bunny-shaped cakes. Its contoured design includes details like ears, whiskers, and a nose, making it perfect for festive celebrations. The pan holds one 2-layer cake mix (approximately 4-6 cups of batter), ensuring a generously sized cake. It comes with complete instructions for baking and decorating, making it user-friendly for both beginners and experienced bakers. The pan is ideal for Easter-themed desserts and allows for creativity in decorating with frosting and accessories. Its durable construction ensures even heat distribution for consistent baking results. The Wilton Bunny Cake Pan is a versatile tool for crafting charming, professional-looking cakes that are sure to delight. It’s a must-have for anyone looking to add a playful touch to their baked goods.
Baking Instructions
Preheating the Oven and Preparing the Pan
Preheat your oven to 325°F (165°C). Lightly spray the Wilton Bunny Cake Pan with nonstick spray and dust with flour. Pour 4-6 cups of prepared batter into the pan, ensuring even distribution for a perfect bake.
Start by preheating your oven to 325°F (165°C). Lightly spray the Wilton Bunny Cake Pan with nonstick cooking spray and dust it with flour to ensure the cake releases smoothly. Place the pan on a baking sheet for stability during baking. Pour 4-4.5 cups of prepared cake batter into the pan, filling it no more than 2/3 full to avoid overflow. Use a spatula to spread the batter evenly, ensuring it reaches all contours of the bunny design. Avoid overfilling, as this can lead to an uneven shape. Once the pan is ready, carefully place it in the preheated oven, following the recommended baking time of 55-60 minutes. Use a long skewer or toothpick to check if the cake is fully baked by inserting it through the hole in the top of the pan. The cake is done when the skewer comes out clean.
Pouring the Batter and Baking the Cake
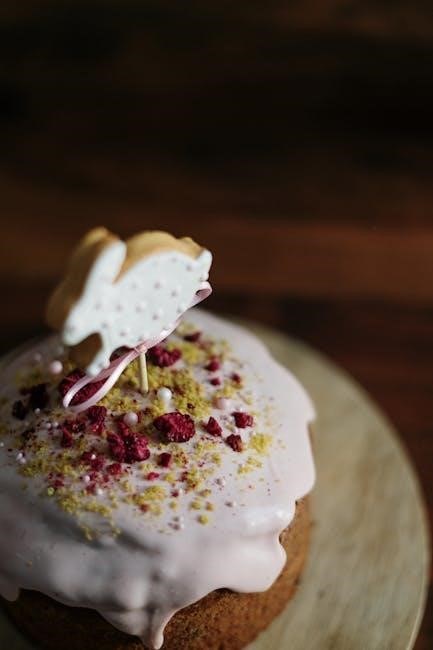
Pour 4-4.5 cups of prepared cake batter into the Wilton Bunny Cake Pan, ensuring not to exceed 2/3 of the pan’s capacity to prevent overflow. Use a spatula to evenly distribute the batter, filling all details of the bunny design. Place the pan on a baking sheet and bake in a preheated oven at 325°F (165°C) for 55-60 minutes. To check for doneness, insert a long skewer or toothpick through the hole in the top of the pan; it should come out clean when the cake is fully baked. Avoid opening the oven too early to prevent the cake from sinking. Once baked, allow the cake to cool in the pan for about 20 minutes before transferring it to a wire rack to cool completely. Proper baking ensures a smooth, even texture, ready for decorating.
Cooling the Cake After Baking
After baking, allow the cake to cool in the Wilton Bunny Cake Pan for about 20 minutes. This initial cooling helps the cake retain its shape and prevents it from breaking when removed from the pan. Place the pan on a flat surface, such as a baking sheet, to ensure stability during cooling. Do not rush this step, as improper cooling can lead to cracks or unevenness in the bunny design.
Once slightly cooled, carefully open the pan and transfer the cake to a wire rack to cool completely. Allow the cake to cool entirely before decorating, as a warm cake can melt the icing or cause the design to smudge. Proper cooling ensures the cake is firm and ready for frosting and embellishments, making the decorating process smoother and more enjoyable. Patience during this step is key to achieving a professional-looking result.
Decorating the Cake

Transform your bunny cake with creative decorating! Use icing pouches with star tips to add details like ears and whiskers. Spatulas help smooth the icing for a polished look. Essential tools and techniques make decorating easy and fun, bringing your bunny to life with personality.
Preparing the Icing and Basic Decorating Techniques
Start by preparing a batch of buttercream icing, following the recipe provided or using store-bought icing. Divide the icing into portions for different colors—white for the base, pink for inner ears, and black for eyes and nose. Use disposable decorating bags fitted with star tips (like Tip 2 or 5) for creating textured details such as fur and whiskers. Smooth the base layer of icing over the cooled bunny cake using a spatula, ensuring even coverage. This foundational layer is crucial for a polished appearance. Once the base is set, pipe on details like cheek mounds, eye dots, and whiskers. Experiment with tip sizes and pressures to achieve varying textures and effects. These basic techniques will bring your bunny cake to life with personality and charm.
Adding Details: Eyes, Nose, and Whiskers
Start by preparing your buttercream icing in various colors: white for the base, pink for the inner ears, and black for the eyes and nose. Use disposable decorating bags fitted with fine tips (like Tip 2 or 5) for precise details. Pipe small black dots into the eye indentations on the bunny cake. Below the eyes, add a small black dot for the nose. For the whiskers, use white icing with a star tip to create textured lines or pull-out dots, ensuring they are evenly spaced for a natural look. Work carefully, using a toothpick to clean up any mistakes. Ensure the cake is completely cooled and iced before adding these details to prevent smearing. Practice piping on parchment paper if needed. Keep your tools ready, including decorating bags, tips, and a spatula. Be patient and take your time to achieve a friendly, expressive bunny face. Add any additional decorations like nonpareils later if desired.
Tips for Using the Wilton Bunny Cake Pan
Use 4-4.5 cups of batter (1 standard box mix). Avoid overfilling to prevent overflow. Coat the pan with nonstick spray and dust lightly with flour. Place on a baking sheet for support. Allow the cake to cool completely before decorating for easy release and a smooth finish.
Best Practices for Batter Amount and Pan Preparation
For optimal results, use 4-4.5 cups of cake batter or one standard box of two-layer cake mix. Avoid overfilling the pan, as this can cause uneven baking and overflow. Properly prepare the Wilton Bunny Cake Pan by coating it with nonstick spray and lightly dusting it with flour to ensure the cake releases smoothly. Place the pan on a baking sheet for added stability during baking. Fill the pan up to 2/3 of its capacity to accommodate batter expansion. Ensure even batter distribution by gently spreading it with a spatula. This preparation ensures a perfectly shaped bunny cake with minimal risk of sticking or breaking, making the decorating process easier and more enjoyable for both beginners and experienced bakers.
Avoiding Common Mistakes and Cleaning the Pan
To ensure success with the Wilton Bunny Cake Pan, avoid overfilling it, as this can lead to uneven baking and overflow. Properly grease the pan with nonstick spray and lightly dust with flour to prevent sticking. Let the cake cool completely before removing it from the pan to avoid breaking. For cleaning, wash the pan by hand with mild soap and warm water, avoiding abrasive scrubbers to maintain its finish. Dry thoroughly after washing to prevent rust. Regular maintenance ensures the pan remains in excellent condition for future use. By following these tips, you can achieve consistent results and extend the lifespan of your Wilton Bunny Cake Pan, making it a reliable tool for creating memorable Easter treats.
